How To Install Cedar Siding? 4 Easy Steps!
Cedar Siding is a natural wood siding. It is usually made of white or red cedar wood. This siding not only gives a pleasant exterior look but also protects the home.
So, how to install cedar siding easily?
To install a cedar siding you just need to choose the right cedar at first. Then prepare the woods and wrap the exterior. After that, you can start the installation process by nailing the cedar with ring shank nails easily.
Still, not clear enough? Well, we’re here to help you. Because we have discussed the steps to install cedar siding in detail. Just follow the easy process and you’ll have an extraordinary exterior ready all by yourself.
Get your gears ready and let’s dig into the process.
What's On the Page
Installation of Cedar Siding
Installing a cedar siding is actually very easy. The steps start from choosing the wood to installing them. But remember one thing- cedar siding should be done in the daytime as it includes nailing.
Now, let’s jump right into the steps-
Step 1: Choosing the Right Cedar
To make the exterior of your home look aesthetic, go with either white or redwood cedar. It could be depending on your choice, style, preference, or durability.
Need a little help to pick one?
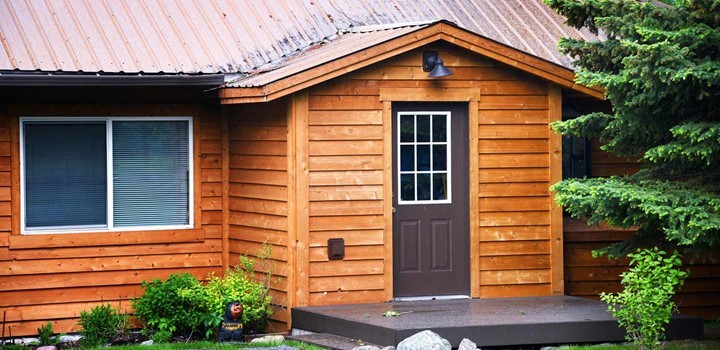
Well, all types of Cedarwood are durable, natural, aesthetical, and offer great value to your money. It’ll give you a bungalow look to your home. It is economical because of its long-lasting lifespan.
However, redwood cedars are the most suitable ones to work with. It can expand and contract easily and can be pinned easily. It also has great resistance to insects
Step 2: Prepping the Wood
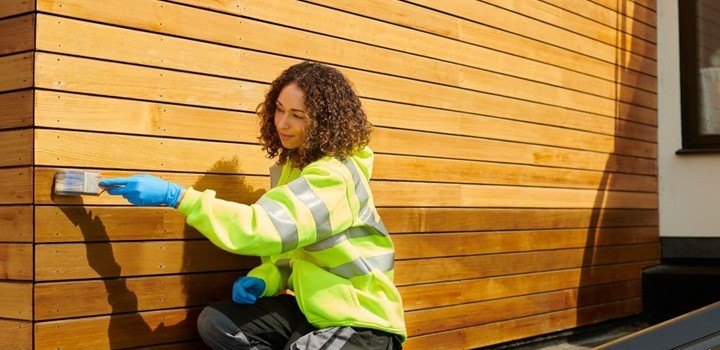
The first step in preparing the wood is to treat the boards. It is very important. Treating the board means applying a finisher and a primer to protect the woods from exterior damage. It’ll also bring a glossy look to your woods.
Because if you don’t treat your board, they will turn gray and old within some months. To treat your board, you can go for oil finishes like linseed oil, tung oil, etc.
The second step to preparing the wood is to cut them according to the size. Now here comes the confusing part. Will you go from the trims first or the body first?
Well, often, people think that the trimmers should be added last. They will cover the uneven edges. But it’s a wrong concept.
The trims should be added first and then the body. Then the sidings should be placed measuring the size from both sides.
So, all the trimmers should be treated with a good finisher. And a primer should be used too. Primers will protect the wood from external damage and water penetration. As a result, the topcoat won’t get damaged.
Step 3: Wrapping the House
Be it a new or old home to repair, you should also wrap the exterior surface with drain wrappers. This will work as weather resistance and give a proper drainage system. The wrapper will also prevent the formation of mold and mildew.
To wrap, make the roll stand vertically from the corner and start unrolling. Keep fastening as you go. Make sure the roll is level.
Do this around the building covering all sides and holes including the doors and windows. Cut the wrappers from the inside to open the doors and windows.
Step 4: Installing the Siding
This is the main step of the whole installation process.
To start with, we know western red cedar siding can be placed in different patterns. The most popular one is bevel siding along with tongue- groove, board, and batten.
First thing first, to pin the siding use stainless aluminum Corrosion-resistant fasteners. They are the best choice. Because they don’t develop rust and are much stronger than regular nails. The nails should penetrate at least 1 or 2 inches into the solid wood.
As mentioned earlier, the trims should be placed first. The trims should be placed with 16 gauge finish nails and matching stainless nails. Then the sidings should be placed.
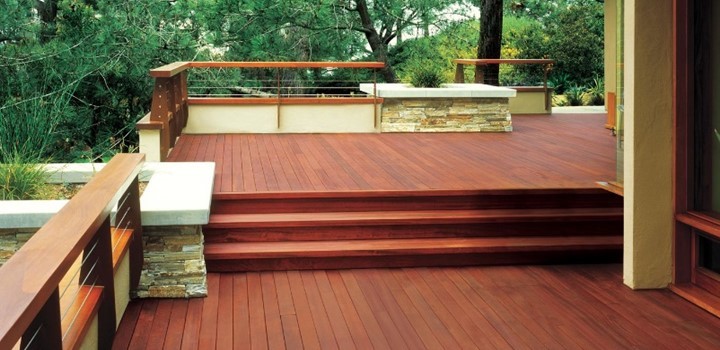
Place the sidings according to the pattern you want to follow. And with that, the installation process ends. You now have a beautiful exterior look to your home!
Do’s And Don’ts while Installing Cedarwood Siding
Now, let’s talk about what are the things that you should keep in mind while installing the cedar. So, do read along properly!
Pre-fixed
The sidings should be primed and pre-finished before they are placed. This should be done on all six sides. This will help to build durable wood for a long-lasting result.
Ring Shank Nails
For installing the cedar siding, make sure to use ring shank nails. They must be of good quality and of stainless steel.
Never Nail Through Two Layer Loods
Do not pin the nails through a two-layer wood. Because this way it won’t last long and might come off. Furthermore, the sidings might lose the balance from one side.
End Cuts Must be Sealed
The end cuts are usually open to the environment exposing them to moisture. So, they must be sealed before. Or else they may cause adhesion problems to the primer if applied after.
Hand Nailing Is Better
Nailing with a gun is usually heavy nailing. This might damage the woods. So, it is suggested to use hand nailing. The pressure from the gun might break the woods.
You might think gun drilling is a time saver. But when the woods start to crack you’ll have to go through the process again which will take more time.
Even if you use guns, make sure to use the adjustable ones. You can then adjust the pressure so that it doesn’t hamper the wood.
And that’s all! Make sure to keep these in mind for a better result!
FAQs
How long will cedar siding last?
Cedar is actually known for its durability. Cedar can last for decades if constructed properly. So, don’t let your cedar come in contact with the ground as it can shorten the lifespan.
What lengths of cedars are available?
The lengths are usually sold according to customer needs. Because it will give them the best fit and save time for cutting each siding.
Do I have to treat Both Sides Of the Cedar Siding?
Yes, for a better finish, you should treat both sides of the cedar. This will also help the cedar to last longer.
Does Cedar Siding Attract Bugs?
Usually wood attracts bugs. But Cedar has a built-in bug repellent. And for this reason, it is famous for sidings.
Conclusion
So the answer to how to install cedar siding has been given in 4 easy steps. Hope this article helped you!
Now, you can beautify your home’s exterior without any professional help. This will minimize the cost and you can spend your leisure time in a productive way.
That’s all for today. Have a great day!
Read More

Robert Larry is a woodworking enthusiast, carpenter, creative wood art designer, and spokesperson. He has a passion for crafting unique and functional pieces from wood, and over the years, He has honed his skills to develop a distinctive style that blends traditional carpentry techniques with a modern, artistic touch.
In addition to his work as a carpenter, He is also a writer, sharing his knowledge and experiences through articles and blog posts on the craft of woodworking. With a keen eye for detail and a deep appreciation for the natural beauty of wood, He creates pieces that are not only functional but also beautiful works of art.
![How To Protect Cedar Wood For Outdoors? [3 Ways to Follow]](https://carpentinglab.com/wp-content/uploads/2021/12/How-to-Protect-outdoor-Cedar-Wood.jpg)
![How To Paint A Cedar Chest? [9 Easy Steps]](https://carpentinglab.com/wp-content/uploads/2021/12/How-To-Paint-A-Cedar-Chest.jpg)

![Does Cedar Wood Rot? [Mystery Solved]](https://carpentinglab.com/wp-content/uploads/2021/10/Does-Cedar-Wood-Rot.jpg)